Tasmota
This integration allows you to control Tasmota
Requirements
- MQTT broker and the MQTT integration set up in Home Assistant.
- Tasmota devices’ MQTT setting configured to communicate with the MQTT broker.
- Tasmota devices flashed with version 9.2, or later (
tasmota-lite.bindoes not support this integration). - Tasmota devices configured for native discovery (
SetOption19 0). - Although the Tasmota integration supports custom fulltopic it is strongly suggested to leave fulltopic at its default, Tasmota does not prevent setting an invalid or non-unique fulltopic, for example a fulltopic without the
%prefix%or%topic%tokens.
Supported features
Tasmota Buttons, Fans, Lights, Relays, Sensors, Shutters and Switches are supported.
- Tasmota Buttons will be added as Home Assistant
automation triggerswhenSetOption73is enabled. Nobinary_sensorentity will be created. You can find the availableautomation triggerson the device screen.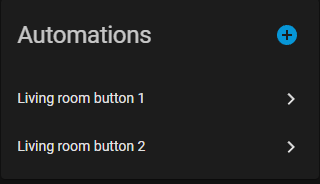
- Tasmota Lights will be added as Home Assistant
lightentities. Single channel Dimmers, RGB lights, RGB lights with Color Temperature control and RGB lights with White control are supported. - Tasmota Relays will be added as Home Assistant
switchentities, ifSetOption30 0. IfSetOption30 1, relays will be added aslightentities. - Tasmota Sensors will be added as Home Assistant
sensorentities. - Tasmota Shutters will be added as Home Assistant
coverentities. Currently only Shutter modes 1 to 4 are supported. Shutter mode 5 and Tuya shutters are not supported. - Tasmota Switches will be added as either Home Assistant
binary_sensorentities orautomation triggersdepending on theswitchmodeused whenSetOption114is enabled. - The fan functionality in Tasmota devices with module configured as
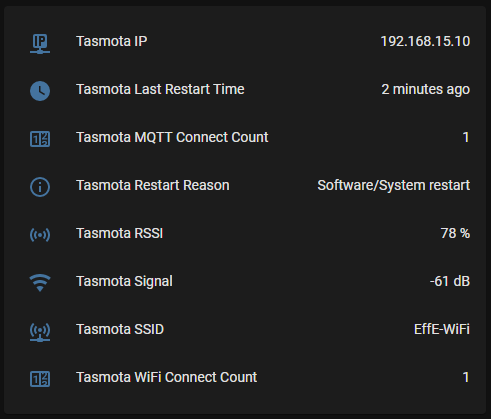
iFan02oriFan03will be added as Home Assistantfanentities. Tuya fans are not supported. - The integration will also create up to eight Status Sensors, each one with a different information. Please note all the Status Sensors are disabled by default.
配置
要将 Tasmota integration 添加到您的 Home Assistant 实例中,请使用此 My 按钮:

如果上述 My 按钮不起作用,您也可以手动执行以下步骤:
-
浏览到您的 Home Assistant 实例。
-
转到
设置 > 设备与服务。 -
在右下角,选择
Add Integration 按钮。 -
从列表中选择 Tasmota。
-
按照屏幕上的说明完成设置。
You must also configure each Tasmota device’s MQTT settings to communicate with whatever MQTT broker you are using. Enter the broker address under host, and enter a username/password combination that allows access to the broker.
If using the Mosquitto Broker add-on for Home Assistant, first create a new Home Assistant user under Settings > People. Then, in Tasmota > Configure MQTT under “Host” enter the address of your Home Assistant instance and under “User” and “Password” enter the Home Assistant user you just created.