Swiss public transport
The Swiss public transport integration will give you the next three departure times from a given location to another one in Switzerland.
The Swiss public transport API90s, which is just enough for one connection polling continuously. If more entries are needed, consider defining a custom polling interval to reduce the amount of requests.
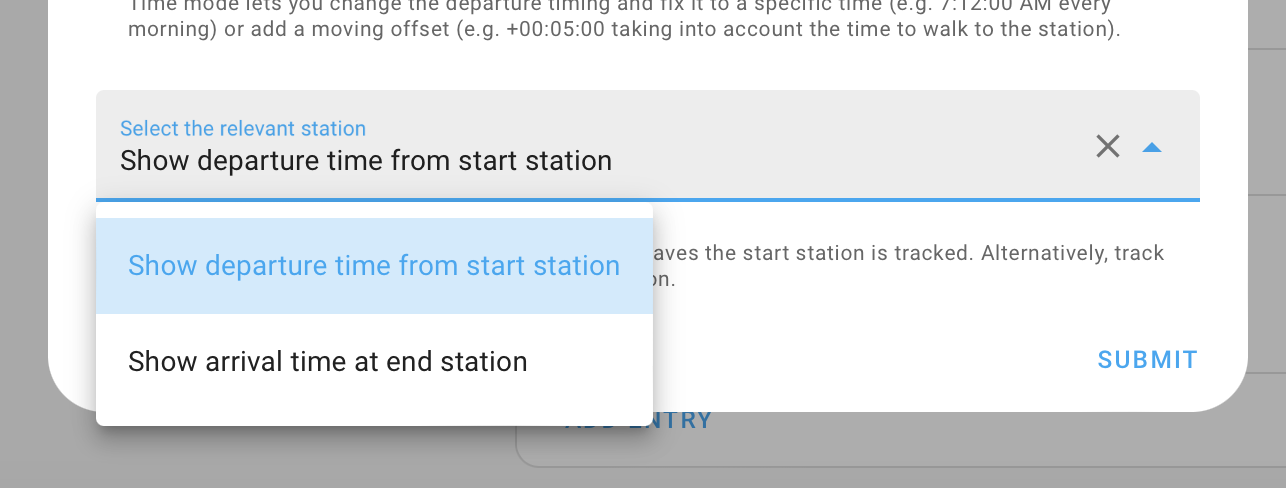
Choose between the departure or arrival time or the connection to be displayed
The relevant time for the connection (e.g. 7:12:00 AM every morning).
Use the Stationboard
配置
要将 Swiss public transport integration 添加到您的 Home Assistant 实例中,请使用此 My 按钮:

如果上述 My 按钮不起作用,您也可以手动执行以下步骤:
-
浏览到您的 Home Assistant 实例。
-
转到
设置 > 设备与服务。 -
在右下角,选择
Add Integration 按钮。 -
从列表中选择 Swiss public transport。
-
按照屏幕上的说明完成设置。
The public timetables are coming from Swiss public transport
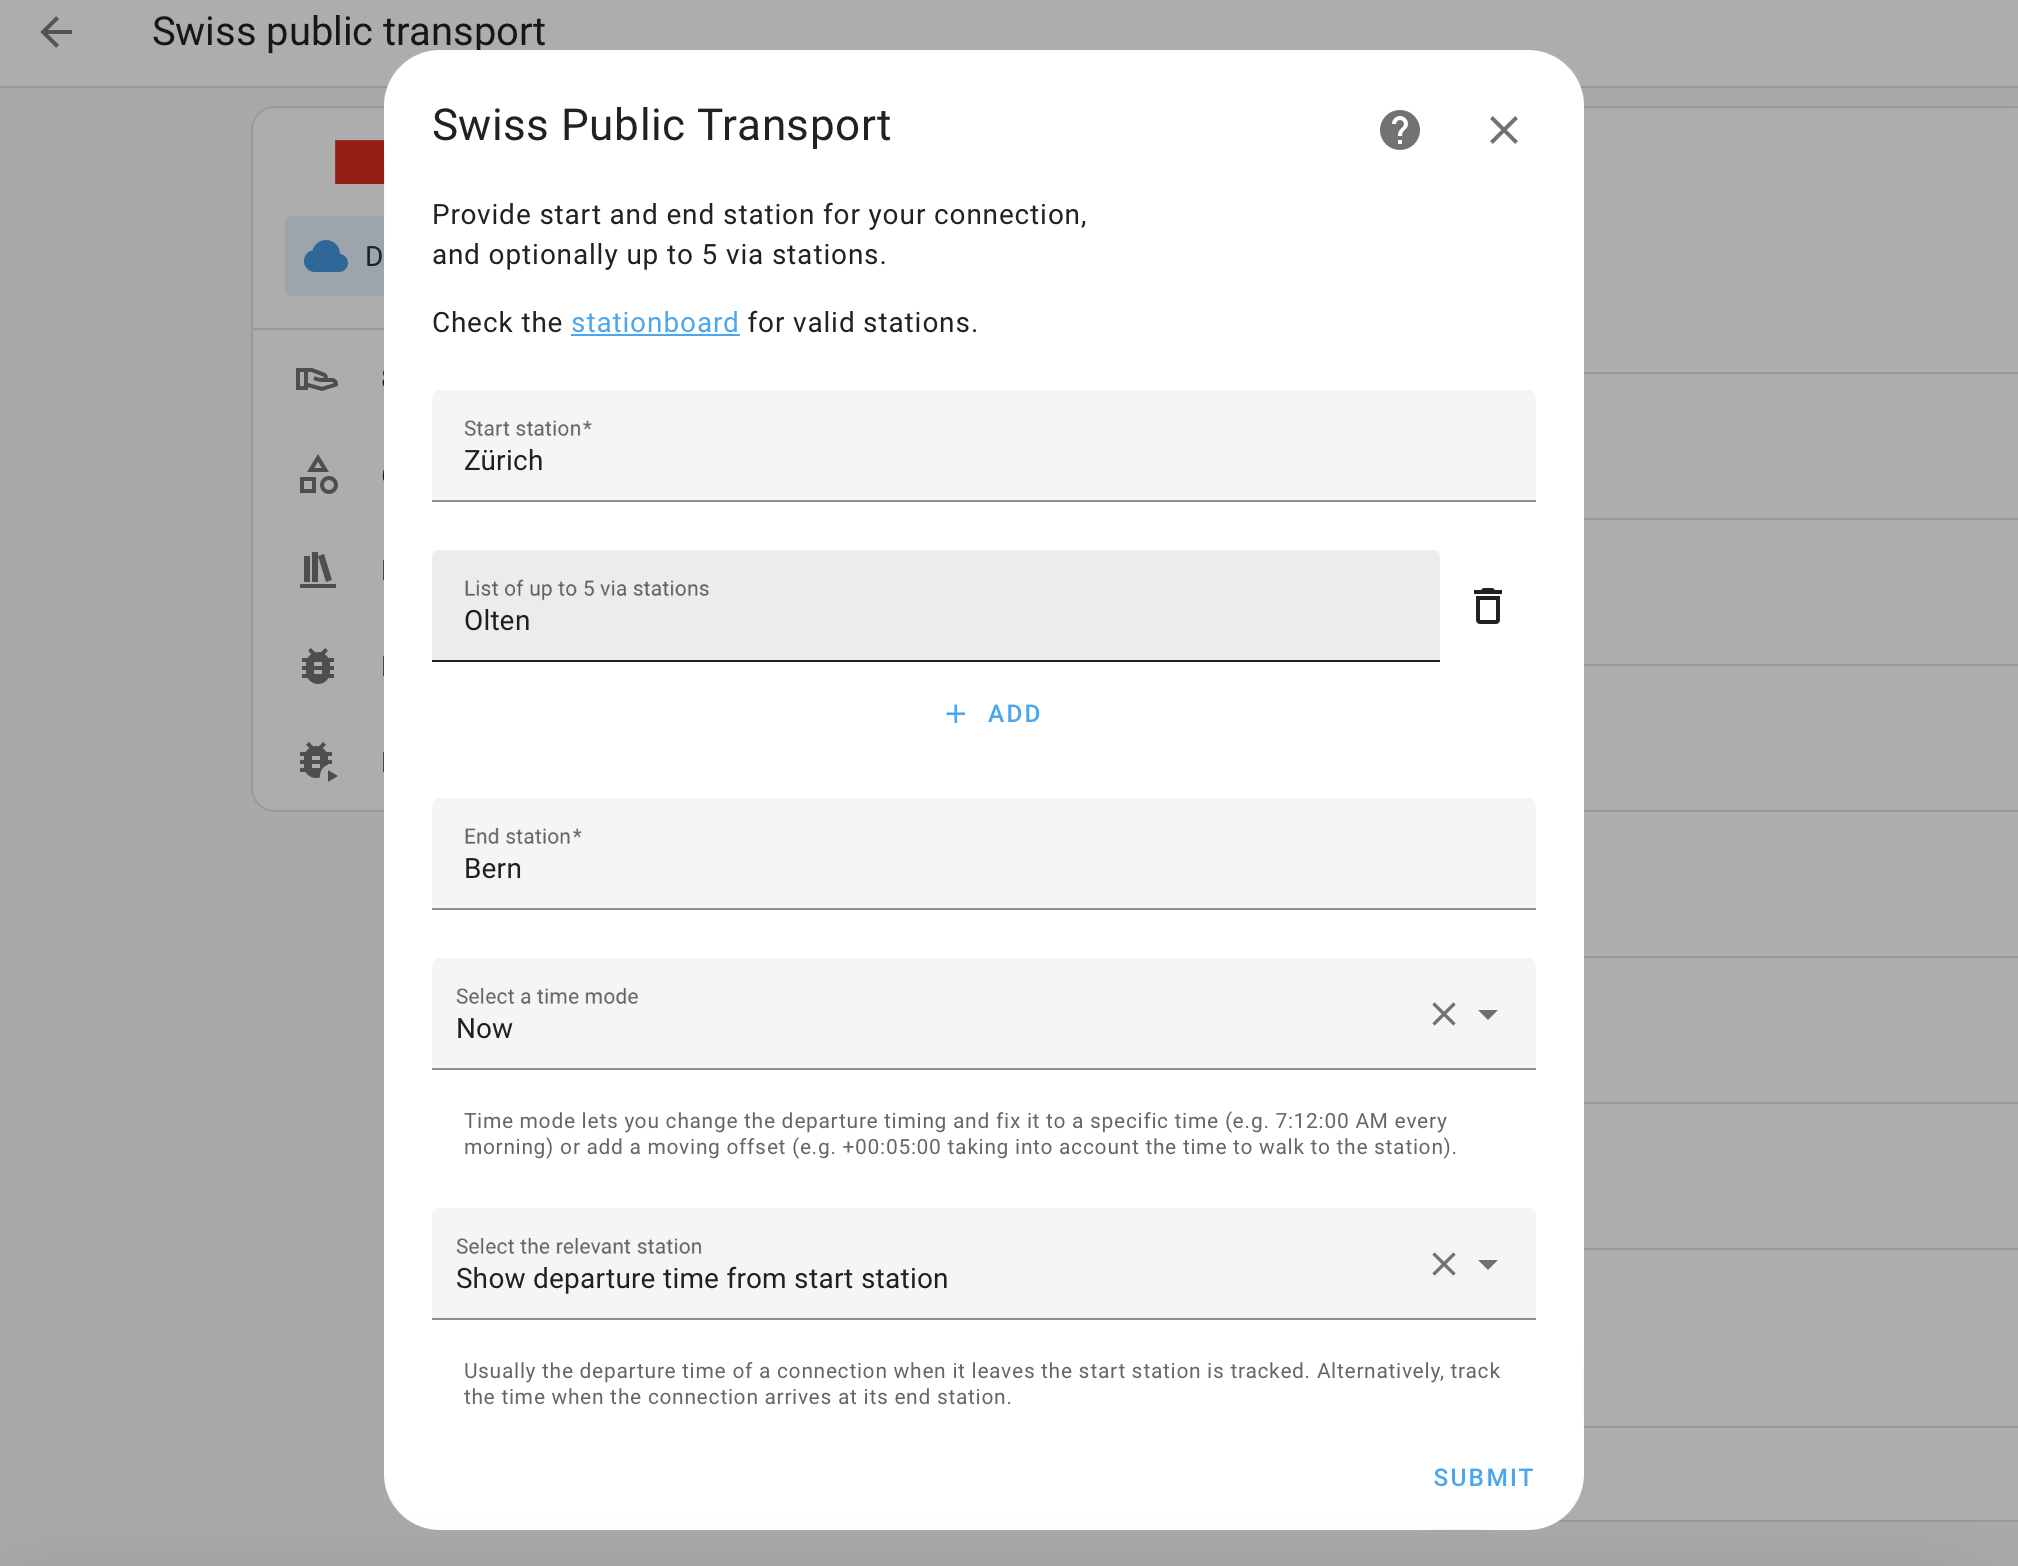
Set up a connection
The minimum configuration for a connection requires a start and end station (for example, “Zürich HB”).
Optionally, you can provide up to 5 additional via stations where the connection must go through.
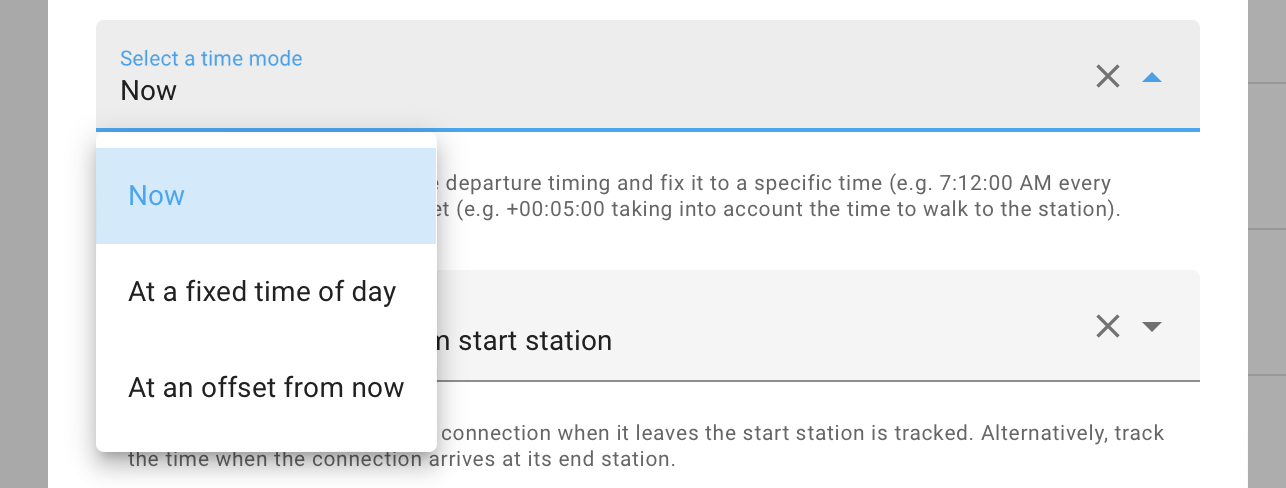
Time mode
The Time mode allows you to specify the time of the connections.
- Now (default): Provide the next connections.
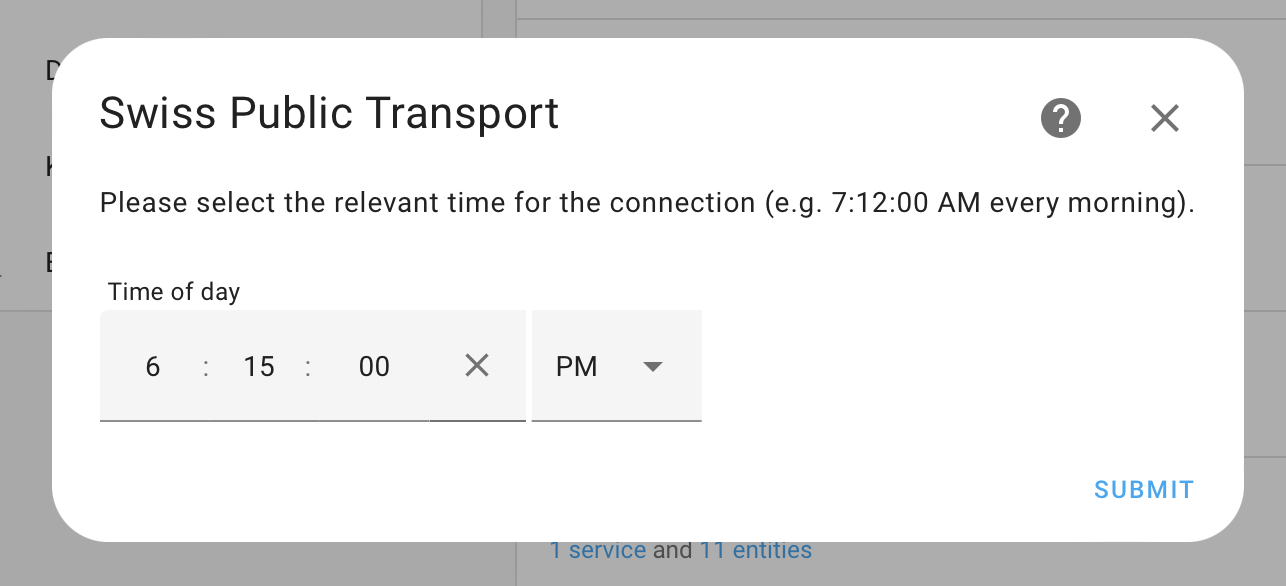
- At a fixed time of day: Provide the connections that depart at a fixed time of day (for example, 18:15 in the evening)
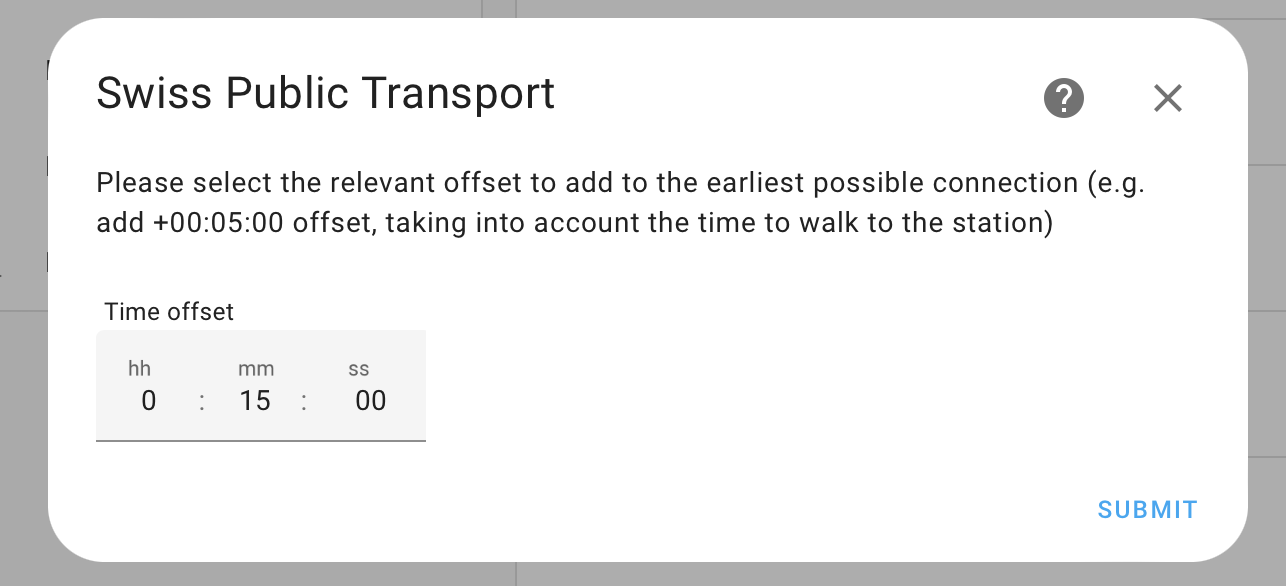
- At an offset from now: Provide the next possible connections which depart after a specified offset (for example, 15 minutes from now, which helps account for a 15-minute walk to the station)
Use case: Next connection at my local bus stop
Usually, it takes some time to walk to the closest bus station from home, which can be modeled using the offset option in the Time mode dropdown, filtering out connections which are not reachable anymore. This information can then be displayed at the door or on your mobile device.
Use case: Daily train home
For people working business hours, a set-up using the fixed option in the Time mode allows you to identify the same train each day for commuting home. Set up an automation to send a push notification to get informed early.
Departure versus Arrival
Usually, one wants to know when a connection departs (default), but in case where the opposite is needed and one wants to know when a connection arrives, select “Show arrival time at end station” in the time reference dropdown.
When configured for arrival time, the sensor will display the arrival time at the destination instead of the departure time from the start station. This is particularly useful for automations that need to trigger based on arrival times.
Use case: Inform family of train arriving late
A popular use case would be to know if your family member is running late and sending out a push notification or displaying their arrival time at home.
Actions
The Swiss public transport integration has the following action:
swiss_public_transport.fetch_connections
Action swiss_public_transport.fetch_connections
Fetch the connections for a specific instance.
| Data attribute | Optional | Description |
|---|---|---|
config_entry_id |
No | The ID of the Swiss public transport config entry to get data from. For example, in YAML: config_entry_id: zurich_geneva or in UI Instance: zurich_geneva) |
limit |
Yes | The number of connections to fetch. (default: 3, range: [1,15]) |
Defining a custom polling interval
如果您想要定义一个特定的间隔来轮询您的设备以获取数据,可以禁用默认的轮询间隔并创建自己的轮询自动化。
要添加自动化:
- 转到 设置 > 设备与服务,并选择您的集成。
- 在集成条目上,选择
。 - 然后,选择 系统选项 并切换按钮以禁用轮询。
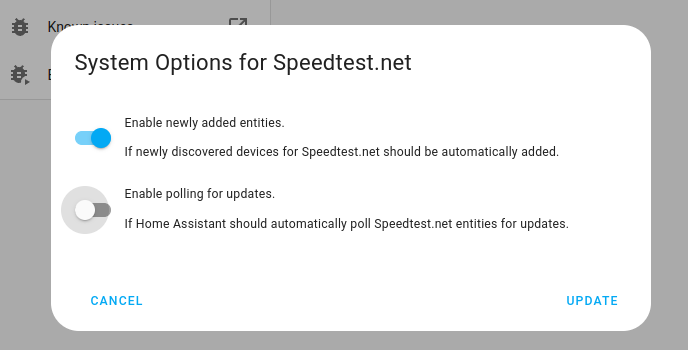
- 然后,选择 系统选项 并切换按钮以禁用轮询。
- 要定义您的自定义轮询间隔,创建一个自动化。
- 转到 设置 > 自动化与场景 并创建一个新的自动化。
- 定义您喜欢的任何触发器和条件。
- 选择 添加动作,然后选择 其他动作。
- 选择 执行动作,然后从列表中选择
homeassistant.update_entity动作。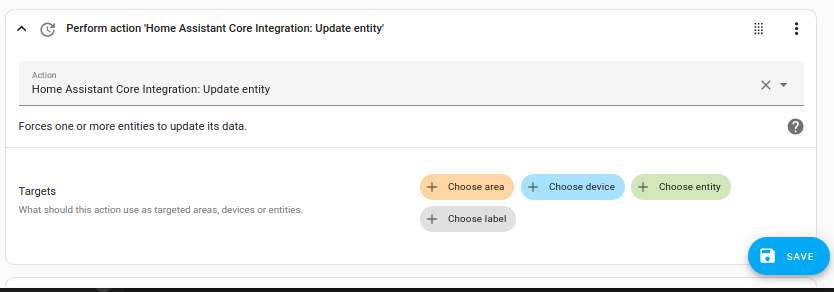
- 保存您的新自动化以轮询数据。
Removing the integration
This integration follows standard integration removal. No extra steps are required.
从Home Assistant中移除集成实例
- 前往 设置 > 设备与服务 并选择集成卡片。
- 从设备列表中,选择要删除的集成实例。
- 在条目旁边,选择三个点
菜单。然后,选择 删除。