dweet.io
The dweet integration集成将 Home Assistant 与您的设备、服务等连接和集成。 [Learn more] makes it possible to transfer details collected with Home Assistant to Dweet.io
The publishing interval is limited to 1 second. This means that it’s possible to miss fast changes.
There is currently support for the following device types within Home Assistant:
Configuration
To use the dweet integration in your installation, add the following to your configuration.yamlconfiguration.yaml 文件是 Home Assistant 的主要配置文件。它列出了要加载的集成及其特定配置。在某些情况下,需要直接在 configuration.yaml 文件中手动编辑配置。大多数集成可以在 UI 中配置。 [Learn more] file.
在更改了configuration.yamlconfiguration.yaml 文件是 Home Assistant 的主要配置文件。它列出了要加载的集成及其特定配置。在某些情况下,需要直接在 configuration.yaml 文件中手动编辑配置。大多数集成可以在 UI 中配置。 [Learn more] 文件后,重启 Home Assistant 以应用更改。 该集成现在显示在集成页面的 设置 > 设备与服务 下。其实体在集成卡片上以及实体标签上列出。
# Example configuration.yaml entry
dweet:
name: YOUR_UNIQUE_IDENTIFIER
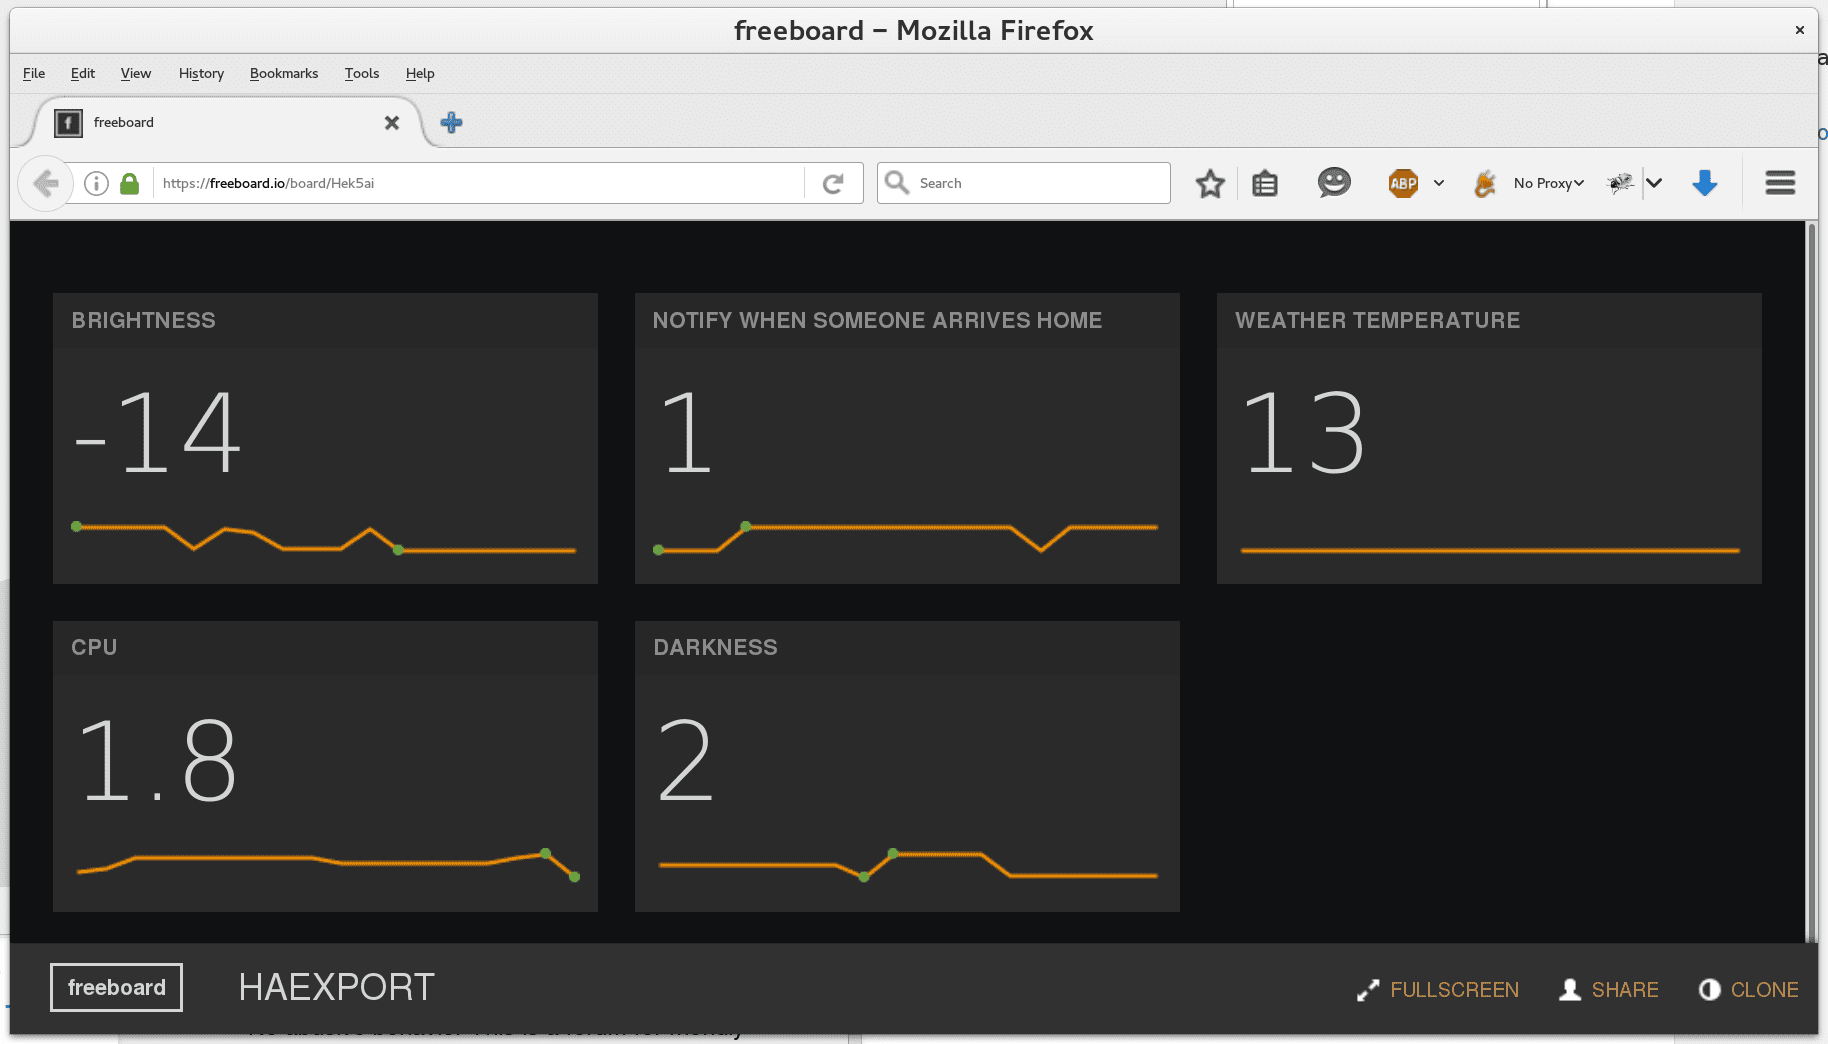
whitelist:
- input_number.brightness
- input_boolean.notify_home
- sensor.weather_temperature
- sensor.cpu
Sensor
The dweet sensor platform allows you to get details from your devices which are publishing their values to Dweet.io
Configuration
To use Dweet.io sensors in your installation, add the following to your configuration.yamlconfiguration.yaml 文件是 Home Assistant 的主要配置文件。它列出了要加载的集成及其特定配置。在某些情况下,需要直接在 configuration.yaml 文件中手动编辑配置。大多数集成可以在 UI 中配置。 [Learn more] file:
# Example configuration.yaml entry
sensor:
  - platform: dweet
    device: THING_NAME
    value_template: "{{ value_json.VARIABLE }}"
Configuration Variables
The variable to extract a value from the content.
Let you overwrite the name of the device in the frontend.
Full configuration sample
A full configuration entry could look like the sample below.
# Example configuration.yaml entry
sensor:
  - platform: dweet
    name: Temperature
    device: THING_NAME
    value_template: "{{ value_json.VARIABLE }}"
    unit_of_measurement: "°C"
Interacting with Dweet.io
You can easily send dweets from the command-line to test your sensor with curl.
curl -H 'Content-Type: application/json' -d '{"temperature": 40, "humidity": 65}' https://dweet.io/dweet/for/ha-sensor
will give you a response like the one below:
{"this":"succeeded","by":"dweeting","the":"dweet","with":{"thing":"ha-sensor","created":"2015-12-10T09:43:31.133Z","content":{"temperature":40,"humidity":65}}}
The dweepy
Send a dweet.
$ python3
>>> import dweepy
>>> dweepy.dweet_for('ha-sensor', {'temperature': '23', 'humiditiy':'81'})
{'thing': 'ha-sensor', 'created': '2015-12-10T09:46:08.559Z', 'content': {'humiditiy': 81, 'temperature': 23}}
Receive the latest dweet.
>>> dweepy.get_latest_dweet_for('ha-sensor')
[{'thing': 'ha-sensor'', 'created': '2015-12-10T09:43:31.133Z', 'content': {'humidity': 65, 'temperature': 40}}]