Using USB webcams with Home Assistant
 In the past month I was thinking about ways to integrate USB webcams into Home Assistant again. The main reason was that this would give those devices a second life and enable one to benefit from low-cost video surveillance. There are a couple of options available like [pygame](http://www.pygame.org/hifi.html) or [SimpleCV](http://www.simplecv.org/) but I never finished something. With the [Local File camera platform](/integrations/local_file) by [Landrash](https://github.com/Landrash) and [motion](http://lavrsen.dk/foswiki/bin/view/Motion/WebHome) you could integrate a local USB webcam with a few very easy steps.
In this blog post I am using a Fedora 24 (will most likely work on other distributions too) installation with Home Assistant 0.22.1 on a Foxconn nT-330i with an old Logitech QuickCam Orbit AF
Check first if the your operating system lists your cameras.
$ lsusb
[...]
Bus 002 Device 016: ID 046d:08cc Logitech, Inc. Mic (PTZ)
[...]
The camera we are going to use is available at /dev/video1. The C270 is the one on /dev/video0.
$ ls -al /dev/video*
crw-rw----+ 1 root video 81, 0 Jun 23 08:05 /dev/video0
crw-rw----+ 1 root video 81, 1 Jun 23 08:36 /dev/video1
We need an additional software part to handle the cameras. motion
sudo dnf -y install motion
For our setup we need to modify the file /etc/motion/motion.conf. For now the most important parameters are videodevice, snapshot_interval, and target_dir. The other settings can be left to their defaults. We are going to use the device /dev/video1, use a 30 seconds interval, and set the path to /tmp.
[...]
###########################################################
# Capture device options
############################################################

# Videodevice to be used for capturing  (default /dev/video0)
# for FreeBSD default is /dev/bktr0
videodevice /dev/video1

[..]
############################################################
# Snapshots (Traditional Periodic Webcam File Output)
############################################################

# Make automated snapshot every N seconds (default: 0 = disabled)
snapshot_interval 30

[...]
############################################################
# Target Directories and filenames For Images And Films
# For the options snapshot_, picture_, movie_ and timelapse_filename
# you can use conversion specifiers
# %Y = year, %m = month, %d = date,
# %H = hour, %M = minute, %S = second,
# %v = event, %q = frame number, %t = thread (camera) number,
# %D = changed pixels, %N = noise level,
# %i and %J = width and height of motion area,
# %K and %L = X and Y coordinates of motion center
# %C = value defined by text_event
# Quotation marks round string are allowed.
############################################################

# Target base directory for pictures and films
# Recommended to use absolute path. (Default: current working directory)
target_dir /tmp

[...]
It’s suggested that you adjust at least width and height to get a bigger image from your camera. If you are done, fire up motion.
$ sudo motion
[0] [NTC] [ALL] conf_load: Processing thread 0 - config file /etc/motion/motion.conf
[0] [ALR] [ALL] conf_cmdparse: Unknown config option "sdl_threadnr"
[0] [NTC] [ALL] motion_startup: Motion 3.3.0 Started
[0] [NTC] [ALL] motion_startup: Logging to file (/var/log/motion.log)
Your target_dir will start filling up with images from your camera. motion will create a symlink called lastsnap.jpg which always point to the latest snapshot. We will setup the Local File camera platform to use this file.
camera:
  - platform: local_file
    name: Cranberry cam
    file_path: /tmp/lastsnap.jpg
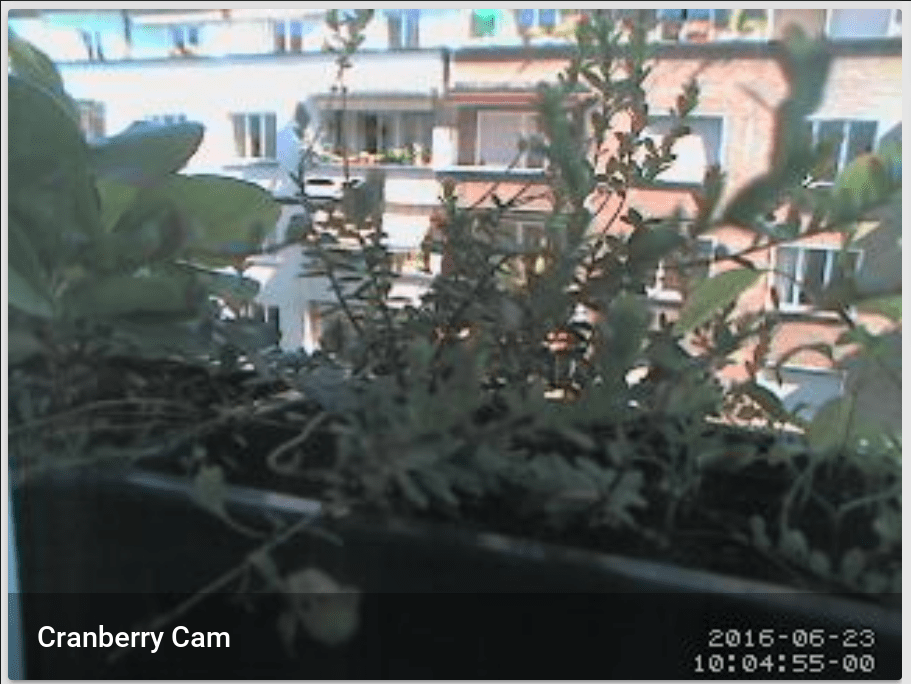 The "Cranberry cam" in action
The machine with the attached USB camera will become a webcam server as well because motion’s built-in HTTP server is enabled by default. This means that you could connect your USB webcams to a different machine in your network, run motion there, adjust your firewall rules, and use Home Assistant to display the videos. Just check http://[IP of your webcam host]:8081/ to see the stream. This required more powerful hardware than using snapshots, of course.
In a scenario like this needs a Generic MJPEG IP Camera in your configuration.yaml file.
camera:
  - platform: mjpeg
    mjpeg_url: http://[IP of your webcam host]:8081
    name: Cranberry Live cam
motionmotion to unleash its potential.